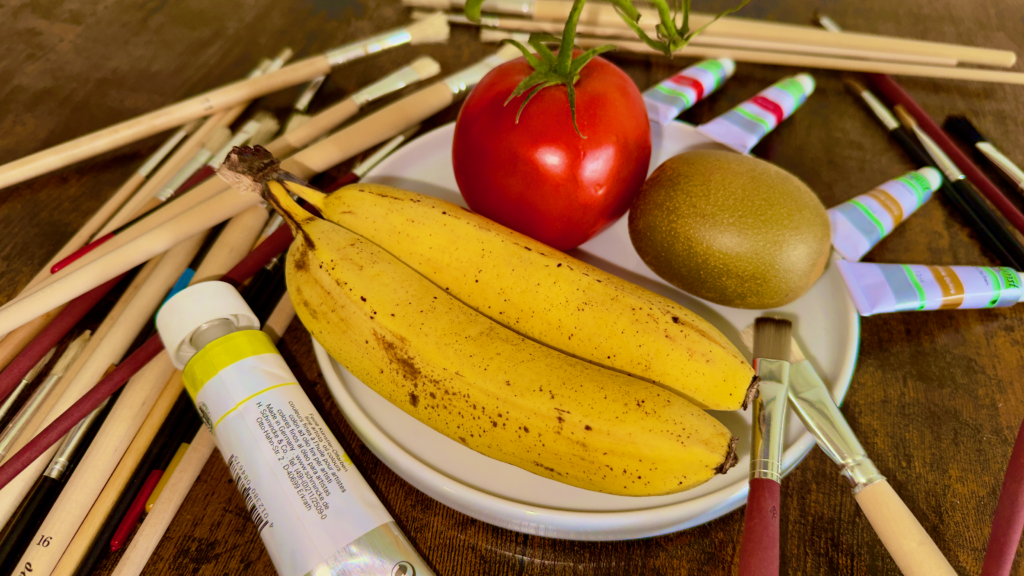
Preparation for painting a Banana, Kiwi and Tomato
- Oil painting is a rewarding, creative process, but to get the best results, proper preparation is key. Whether you’re a first-timer or have some experience, understanding how to set up your workspace and materials will help you avoid frustration and focus on what you love—creating beautiful artwork! Here’s a step-by-step guide to help you get started.
- Set Up Your Workspace: Create a clean, well-lit, and well-ventilated space** for your painting. Natural light is ideal, but if you’re using artificial lighting, choose daylight-balanced bulbs to mimic natural light. Make sure your easel, brushes, paints, and other supplies are within arm’s reach so you don’t have to stop the creative flow once you get started.
- Prepare the Canvas or Surface: If you’re working with a pre-stretched canvas, check if it’s already primed. Most store-bought canvases are, but it’s always good to double-check. If you prefer to prepare your own canvas, apply gesso (a primer) in 2-3 coats, allowing each layer to dry before applying the next. Gesso gives the canvas a smooth surface and prevents oil paint from soaking into the fibers.
- Understand the Lean-to-Fat Principle: One important concept in oil painting is the “lean-to-fat” technique. This refers to how you apply your paint layers: Lean layers: For the initial layers, use a mixture of paint and solvent (thinner, with less oil). Fat layers: For the final layers, use a thicker mix with more oil, as this allows the paint to remain flexible and dry evenly. Building your layers this way helps prevent cracking as your painting dries.
- Mix Your Paint: Squeeze out small amounts of oil paint onto your palette. You don’t need a lot, as oil paint tends to last a long time, and you can always squeeze out more if needed. Mix your paint with solvent (like turpentine) for the first, lean layers. For subsequent layers, you’ll want to add mediums like linseed oil to make the paint thicker and glossier, and to improve its flow.
- Prepare Your Brushes: Before you begin painting, make sure your brushes are clean. If your brushes have been used before, wipe them with solvent to remove excess paint and let them dry. If the bristles are stiff, soak them briefly in solvent, then clean them thoroughly.
- Sketch Your Composition: Start by lightly sketching your composition on the canvas. You can use a pencil*, *charcoal*, or even *thinned paint (raw umber works well). Don’t make the sketch too bold—it should be subtle and blend into your paint once you start layering. This initial sketch will act as a guide for your painting.
- Organize Your Palette and Mixing Space: Before you dive in, organize your color palette. Lay out the colors you’ll need, leaving space for mixing. Keep a clean rag or paper towel handy to wipe off brushes or excess paint, which will help keep your palette neat.
- Consider Drying Time: Oil paints take a long time to dry, which is part of their beauty. Depending on the thickness of your layers and the medium used, your painting could take days, weeks, or even months to fully dry. This allows for plenty of time to refine and layer your work.
- Safety Precautions: Remember to wear gloves when handling solvents and mediums, as they can irritate your skin. Always store solvents in airtight containers*, away from heat sources, and dispose of *used rags properly to avoid any fire hazards. Safety first!
- Enjoy the Process: Above all, enjoy the process! Oil painting is all about patience and building layers. The slow drying time allows you to blend colors, create depth, and experiment with different textures. Don’t be afraid to play around and make mistakes—sometimes the best results come from unexpected discoveries!
Final Thoughts
With these tips, you’re ready to begin your journey into the world of oil painting. Remember, preparation is key to a successful painting experience. By setting up your space, organizing your materials, and understanding the techniques behind oil paint, you’ll be able to focus on what really matters—your creativity!
Happy painting, and enjoy the process!